Use MQTT with the Wio Terminal and TinyGo
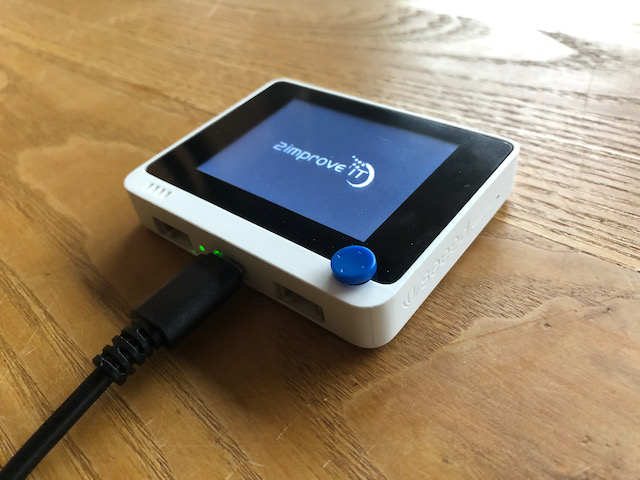
Wio Terminal
The Wio Terminal is a SAMD51-based microcontroller with
Wireless Connectivity powered by Realtek RTL8720DN that’s compatible with Arduino and MicroPython. Currently, wireless connectivity is only supported by Arduino.
It runs at 120MHz (Boost up to 200MHz), 4MB External Flash and 192KB RAM. It supports both Bluetooth and Wi-Fi providing backbone for IoT projects.
The Wio Terminal itself is equipped with a 2.4" LCD Screen, onboard IMU(LIS3DHTR), Microphone, Buzzer, microSD card slot, Light sensor, and
Infrared Emitter(IR 940nm). On top of that, it also has two multifunctional Grove ports for Grove Ecosystem and 40 Raspberry pi compatible pin GPIO
for more add-ons.
TinyGo
TinyGo brings the Go programming language to embedded systems and to the modern web by creating a new compiler based on LLVM.
Let’s install TinyGo
On Mac you can use homebrew
brew tap tinygo-org/tools
brew install tinygo
For Linux or Windows install, check the TinyGo install guide
We will create a program which connects to a WiFi access point, subscribes to a MQTT server and publishes a heartbeat message to this MQTT server.
Create a new folder and in this folder create a file main.go with the following contents (fill in ssid, password and server):
package main

import (
	"fmt"
	"image/color"
	"math/rand"
	"time"

	"tinygo.org/x/drivers/net"
	"tinygo.org/x/drivers/net/mqtt"
	"tinygo.org/x/tinyfont/proggy"
	"tinygo.org/x/tinyterm"
)

var (
	terminal = tinyterm.NewTerminal(display)
	black = color.RGBA{0, 0, 0, 255}
	font = &proggy.TinySZ8pt7b
)

var (
	ssid     string = "<SSID>"
	password string = "<PASSWORD>"
	server   string = "tcp://<IP-ADDRESS>:1883"
	debug           = false
)

var (
	topicPublish = "heartbeat"
	topicSubscribe = "heartbeat"
)


func main() {
	display.FillScreen(black)
	backlight.High()
	terminal.Configure(&tinyterm.Config{
		Font:       font,
		FontHeight: 10,
		FontOffset: 6,
	})
	err := run()
	for err != nil {
		fmt.Fprintf(terminal, "error: %s\r\n", err.Error())
	}
}

func subHandler(client mqtt.Client, msg mqtt.Message) {
	fmt.Fprintf(terminal, "Received:\r\n")
	fmt.Fprintf(terminal,"[%s]  ", msg.Topic())
	fmt.Fprintf(terminal,"%s\r\n", msg.Payload())
}

func run() error {
	fmt.Fprintf(terminal, "Connecting to: %s...\r\n", ssid)
	rtl, err := setupRTL8720DN()
	if err != nil {
		return err
	}
	net.UseDriver(rtl)
	err = rtl.ConnectToAP(ssid, password)
	if err != nil {
		return err
	}
	fmt.Fprintf(terminal,"Get IP ...\r\n")
	ip, subnet, gateway, err := rtl.GetIP()
	if err != nil {
		return err
	}
	fmt.Fprintf(terminal,"IP Address : %s\r\n", ip)
	fmt.Fprintf(terminal,"Mask       : %s\r\n", subnet)
	fmt.Fprintf(terminal,"Gateway    : %s\r\n", gateway)

	rand.Seed(time.Now().UnixNano())

	opts := mqtt.NewClientOptions()
	opts.AddBroker(server).SetClientID("wio-client")

	fmt.Fprintf(terminal,"Connecting to MQTT: %s ...\r\n", server)
	cl := mqtt.NewClient(opts)
	if token := cl.Connect(); token.Wait() && token.Error() != nil {
		failMessage(token.Error().Error())
		time.Sleep(5 * time.Second)
	}

	token := cl.Subscribe(topicSubscribe, 0, subHandler)
	token.Wait()
	if token.Error() != nil {
		failMessage(token.Error().Error())
	}

	for {
		data := []byte(fmt.Sprintf("%d", time.Now().UnixNano()))
		token := cl.Publish(topicPublish, 0, false, data)
		token.Wait()
		if err := token.Error(); err != nil {
			return err
		}
		time.Sleep(30 * time.Second)
	}
}

func failMessage(msg string) {
	for {
		fmt.Fprintf(terminal, "Error: %s\r\n", msg)
		time.Sleep(5 * time.Second)
	}
}
Make sure that your MQTT server is running.
Connect the Wio Terminal to your computer and run:
tinygo flash -target wioterminal
Finished, you should now see the heartbeat messages on your Wio Terminal.